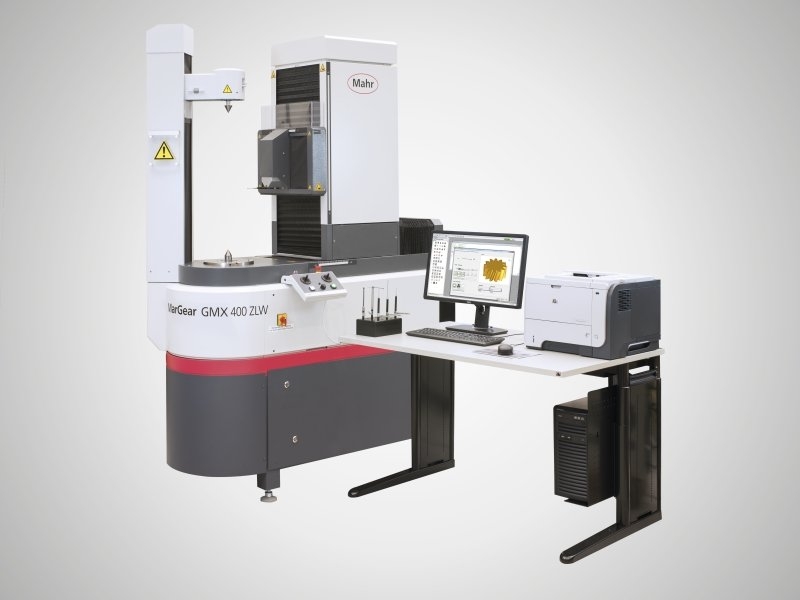
Mahr Metrology - GMX 400 W / 400 ZLW
Quantity
(GMX 400 W) Precision, fully automatic testing of gears and gear cutting tools up to an outer diameter of 400 mm.
(GMX 400 ZLW) Fully automatic precision testing of long gear shafts and gear cutting tools up to an outer diameter of 400 mm.
Combining gear measuring tasks with various form & position features has never been easier.
With over 6000 units sold, the MarWin environment is a clear and simple way of creating complete programs in Teach In mode.
This improves programming efficiency and reduces the possibility of incorrect use.
Proven GMX realtime machine error correction is also used for positioning movements with the new MarEcon control unit, guaranteeing maximum speed and precision throughout the entire measuring and movement sequence.
Gear and form measurements are carried out on a single measuring instrument.
High precision 3D scanning sensor combined with directly driven C axis for accuracy and efficiency.
Control unit
5 axis control unit
With the long tailstock option,
transmission shafts up to 700 mm can be clamped.
Inspection features
High precision 3D scanning sensor combined with directly driven C axis for accuracy and efficiency.
Control unit
5 axis control unit
With the long tailstock option,
transmission shafts up to 700 mm can be clamped.
Inspection features
- Straight and helical toothed cylindrical gears
- GDE interface for inner and outer gears
- Data export to QS-STAT
- Form and position measurements
- 3D geometries such as distances, cone angles, etc.
Accuracy
MarGear GMX 400 W / GMX 400 ZLW
Gear measuring instrument, accuracy class 1, for gear measurements in accordance with VDI/VDE 2612/2613 Group 1 at 20°C ± 2 K
(rotational axis in Formtester accuracy)
Technical Data
|
Max. workpiece weight [kg]
|
60 (80 on request)
|
|---|---|
|
Mass [kg]
|
400 W: 760
400 ZLW: 780 |
|
Accuracy
|
Accuracy class I for gear measurements in accordance with VDI/VDE 2612/2613 Group 1 at 20°C ± 2°C
|
|
Axial runout deviation (µm+µm/mm measuring radius)
|
0.11 µm + 0.0008 µm/mm
|
|
Footer text
|
* Max. diameter of cylindrical gears
|
|
Radial runout deviation (µm in table height)
|
≤ 0.11 µm
|
|
Height (mm)
|
400 W: 1,920 mm
400 ZLW: 2,170 mm |
|
Width (mm)
|
621 mm
|
|
Measuring path Z (mm)
|
400 W: 320
400 ZLW: 650 |
|
Measuring path Y (mm)
|
200
|
|
Diameter max.* [mm]
|
400
|
|
Distance between peaks [mm]
|
2 ... 700
|
|
Length (mm)
|
1,520 mm
|
|
Measuring path X (mm)
|
200
|


